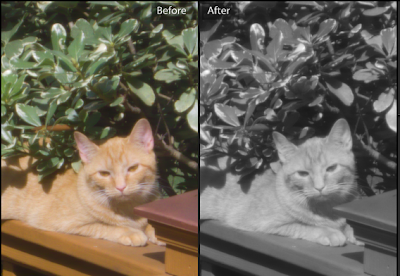
In Lightroom, pressing the compare button or using the View, Before / After menu item, will compare the currently modified image with the import image. However, sometimes you would rather compare two different types of adjusted images.

The image above shows the standard before and after view. Notice how we have altered the image to show it in greyscale. Obviously, this comparison is fairly meaningless if you are trying to determine the best level for black and white tones. We would rather compare two adjusted black and white images. Let’s discuss how to do this in Lightroom.
First, in the Development module make adjustments to an image that you are working on. Save that image as a snapshot. You can call it Image 1. Then adjust the image further, starting from the import snapshot if you wish or adjusting the previous settings further. Save that image as a snapshot calling it Image 2.
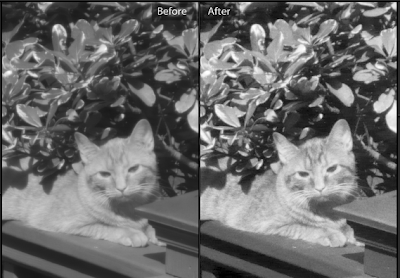
Now we have two images to compare. Select Image 1 and press the compare button, or use the menu item View, Before/After. You will see the images similar to the picture above. Now we have to move Image 1 to the place that the import is show, on the left side of the compare marked Before.
 Press the middle before and after button showing a arrow moving from the right pane to the left pane. See the picture to the left. This will copy the After image to the left and now the same image is shown in both panes. Here is the trick. Now select the snapshot labled Image 2. It should appear on the right hand side in the After window and be compared to the Before window showing Image 1. See the picture below.

Now you can see the difference between images and select one to keep working on, or one to discard, whichever you wish.