Vignettes are not new to Lightroom as a lens correction. However, as a post-crop item meant to actually add a Vignette, the feature is new in Lightroom 2. While it takes some getting used to, the Vignette can produce some outstanding results. There have been several posts and a variety of presets available on the web to accomplish this. So how do you easily create the Vignette you want? Let’s take a look.
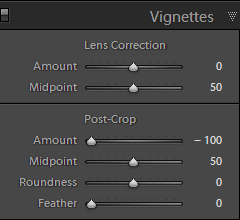
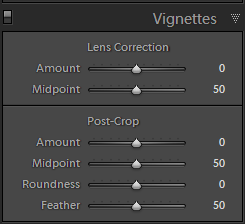 First, you have to know that the default settings are all in the middle. This means, no Vignette is present in an image being developed in Lightroom. The Vignette panel is at the bottom of the Develop module and has settings such as: Amount, Midpoint, Roundness and Feather.
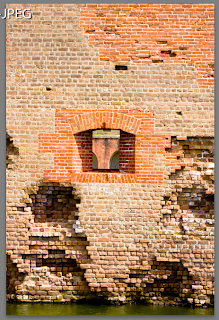
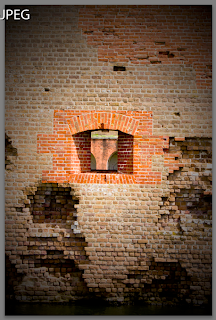
Take a look at an example image we will work with. It’s not an oustanding image for Vignettes. However, it is a good image to work with because the contrast, brightness and texture are all consistent throughout the image, as a brick wall on a fort should be! This image has no Vignette applied.
Now for the first step in this Vignette workflow we need to setup the ability to easily see the Vignette. Determining exactly where the Vignette will stop is difficult at best because it fades into the rest of the picture. Sure, the edges are darker, but where does the Vignette really end?
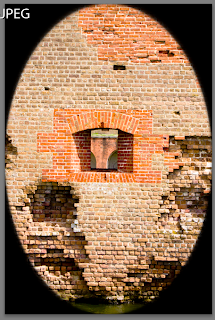
To figure out the boundaries of a fading Vignette, first move the Feather slider all the way to the left. This turns off all the feathering. Then move the Amount slider all the way to the left (for dark Vignettes) or the right (for light Vignettes). The image below has a dark Vignette started, so the Amount slider was moved all the way to the left.
Notice how easy it is already to see where the Vignette will be applied. The Vignette will be faded from the edges of the image to the edge of the black section. The remainder of the image, the part you can see clearly now, will remain untouched. Now we have a chance to adjust the Vignette pattern before we apply it. Move the Midpoint slider and the Roundness sliders until you achieve the pattern you want to use.
The Midpoint was increased to move the Vignette in some more towards the middle. The Roundness was increased to large number in order to change the shape of the Vignette into a circle. These settings are purely the preference of the artist.
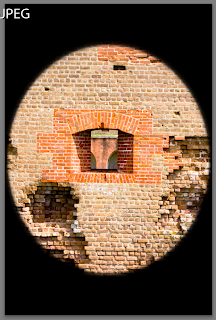
When you have the Vignette pattern established according to your vision, turn the feathering back on. Slowly move the slider up until you acheive the level of Vignetting you desired. Notice how the effect works in the final image below.
Also notice how the shape of the Vignette resembles the pattern we created. However, it remains difficult to see exactly where the Vignette ends. We can tell that there is no Vignetting in the center, but where does it really stop?
 The final settings are shown to the right. Turning the Feathering adjustment all the way off makes viewing the Vignette pattern so much easier and the effect can be easily fine tuned. To edit a Vignette, simply turn off the Feathering (after you see what value you used) and adjust the other settings. For example, you could change the amount some or the shape and size. Then increase the Feathering again until you reach your previous value or find another value you prefer.
It really is that easy to get some great Vignettes!
