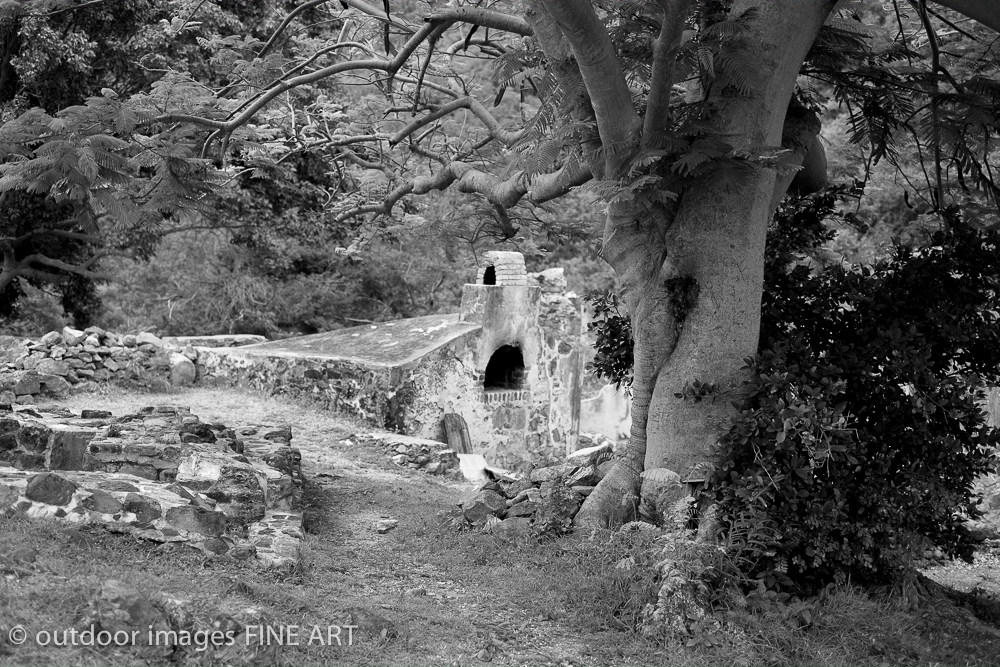
There are several photography quotes I really like. First, “the best camera is the one you have with you” and second, “practice, practice, practice.” There is no doubt in my mind that anyone aspiring to produce great photographs has to practice exposure techniques more than anything else. Learning the physics behind photography certainly helps as does learning artistic methods for framing images. All of that work and study goes to waste without getting the right exposure. I was at Annaberg, the ruins of an old sugar cane mill, on St. Johns in the US Virgin Islands and continued to practice with my Fuji X-Pro1. These images were taken with the 35mm lens which is one of my favorite of the initial trio (18mm, 35mm and 60mm).
the sugar cane oven
As I have continued to post, these are JPEGs from the X-Pro1. Different from many of my posted images, this one was modified in Lightroom by adding 0.40 stops of exposure and expanding the contrast by adding highlights and reducing shadows. Otherwise, the sharpening and other parameters remain from the camera. I have found that even with the use of JPEGs, small adjustments in Lightroom are possible without ruining the image.
In a later post I’ll show you some comparisons of slightly modified JPEGs from the camera to those I have adjusted in Silver Effects Pro 2 by exporting the companion RAW file. The differences are extremely subtle, which is a real testament to the quality of the JPEG processor in this Fuji X-Series.
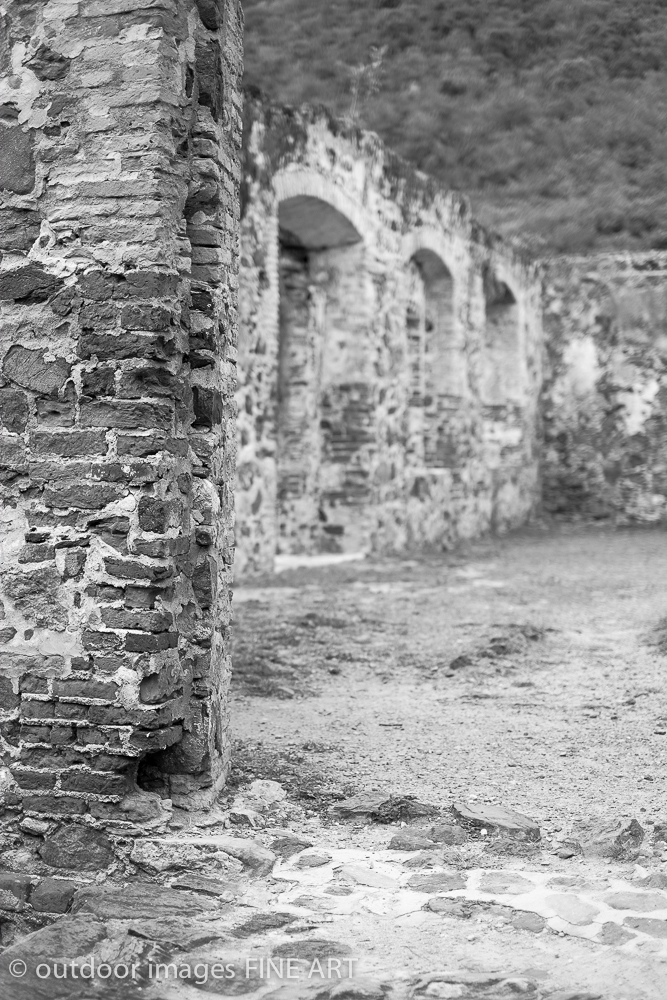
the main structure where cane was processed
To obtain these exposures, I started with my Sekonic L-358 light meter and took the incident reading. I felt for the first few exposures that my images were underexposed. However, I made the foolish mistake an amateur frequently does by making that conclusion based on the preview from the back of the camera LCD. You would think my work with the Leica M9-P would break me of that habit. So part of the lesson here is that practicing exposure will give you confidence that you are setting the proper exposure and allow you to ignore the LCD when viewing is less than ideal.
NOTE: I’m sure the Sekonic has good readouts because I used it recently with my Leica MP and have already shot several rolls of film here. My experience has given me the confidence to know the images will be properly exposed.
I have been playing with the black and white settings and I think I have them set where I like them best. I’ll be posting about that soon as well. In terms of focus, I have been using the manual focusing for most images where I have found as much as I like the optical viewfinder, focusing is much easier with the electronic viewfinder because of the zoom control. It is a matter of preference, of course.
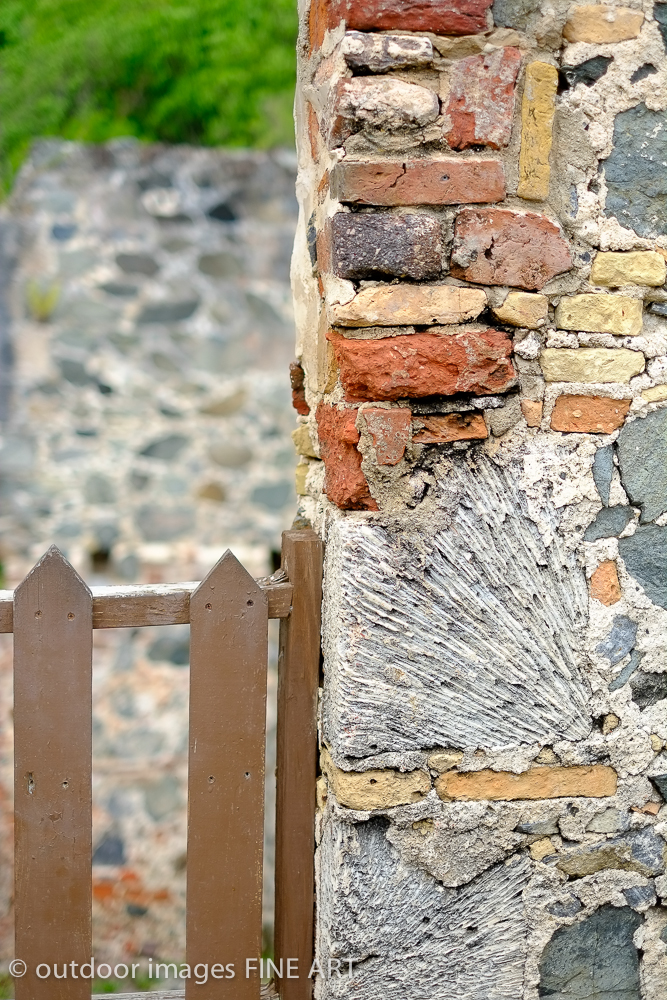
brick and coral used to make walls and structures
This image was taken using the Velvia film method with zero post processing. I think it might be able to use a touch of contrast and sharpening, but I like the image as it was taken too.
I use the camera meter set to the spot mode. I have spent so much time using the spot meter of my Sekonic L-758 that I have grown to rely on being able to look at certain areas of an image prior to taking an exposure, rather than trying to interpret a multi-zone metered exposure. The black box inside the camera that determines such an exposure works well much of the time, but I cannot be sure in strange contrast or lighting situations what the outcome will be. I.e., I lose confidence.
The other area I have learned to pay close attention to is the metered exposure versus the current camera setting. This is a +/- 2 stop vertical gauge on the left side of the viewfinder (optical, electrical and LCD). This helps me determine what I’m metering and how it relates to the exposure already set. Since I focus on fixing an f/stop and moving the shutter speed, this is important. Note that the X-Pro1 and the X100s for that matter, both adjust the exposure seen in the electronic viewfinder and the LCD in order to frame and focus. These previews have absolutely nothing to do with the camera exposure and how the resulting image will be shown.
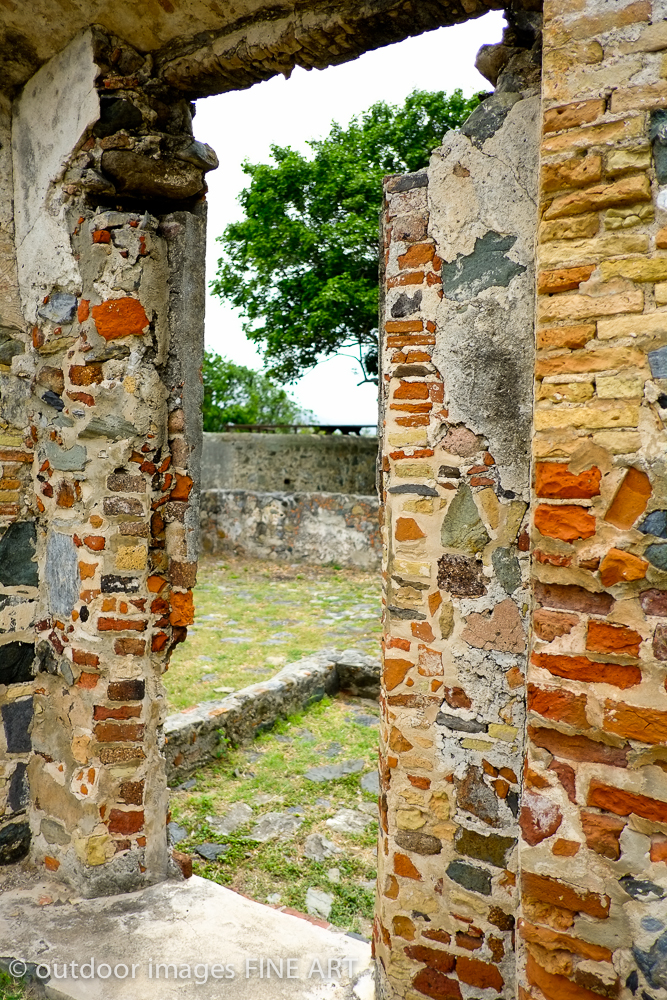
a view from inside looking out towards the yard
I do confess that I chimp. It is a luxury I do not get on other cameras I use, so I look at overall exposure and framing to see if I got what I was looking for. After setting focus, though, I may rattle off a series of exposures without chimping when it comes to people. People move and change far too much to check in between shots. So far, I haven’t been disappointed and have always managed to catch the shot I was looking for. For complete disclosure purposes, the image above was shot as Velvia, but was darkened slightly by reducing the exposure and increasing the contrast. Subtle changes to be sure.
My advice thus far? Use the spot meter mode of the Fuji X-Pro1 and learn to pick areas of the image that should be middle gray. In these exposures that included grass, light gray tree trunks and certain rocks. Not difficult in this setting, but this art requires practice. Additional advice? Pay attention to the over / under exposure meter. I am much more used to triangles of the Leica series, but this is important nonetheless.
Go out with a fresh battery and empty SD card. Shoot everything around you by first focusing on an object and determining how many stops, if any, are different from your light meter. Use the in camera light meter, but also use an external meter for good measure. You will find by using an external meter you can move between cameras with ease and maintain confidence in your exposures.
I will always maintain, for any given piece of photography equipment, a good exposure trumps all. My goal has always been to nail it or at least control how I make it.