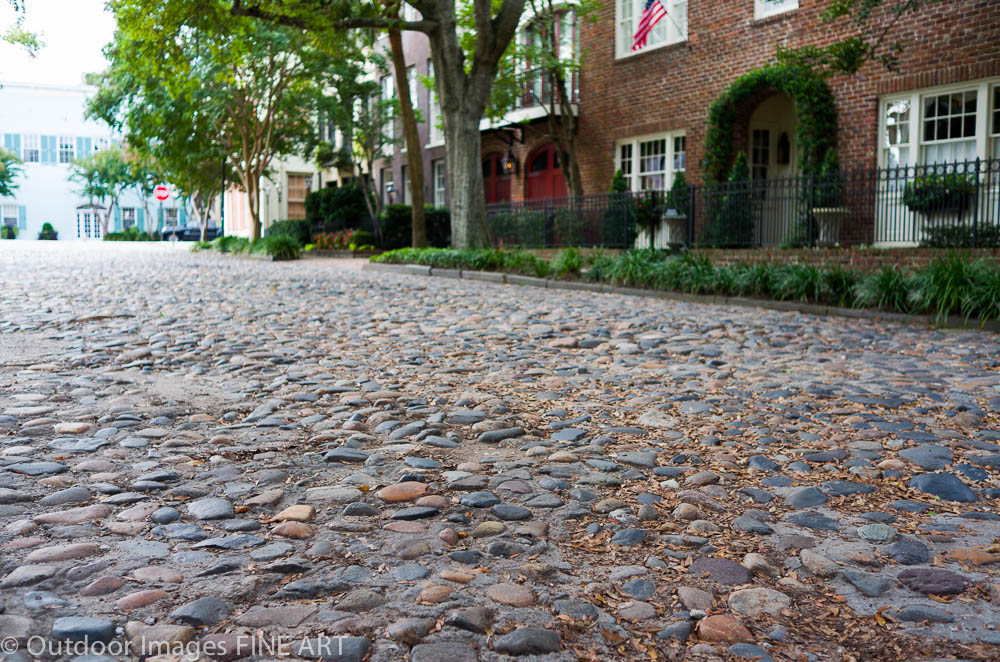
I took the X to Charleston, South Carolina for the weekend to see how it might perform. Overall, the focus was fast and write speed was so quick I had no hold-up in writing to the SD Card while shooting photographs. I still have to get used to the changes between automatic modes and manual modes. I’ll share some of the settings I used in the images below.
Sensor Evaluation
First, contrary to Part 1 of this review, these images are RAW images, converted to DNG’s in Lightroom 4 and developed from there. I do find this sensor has pliable RAW files in the highlight end, but, without any scientific measurement, it feels like the shadow side is a bit lacking. The mid-tones and sharpness are right on par with what I expect from Leica.
The most important accessory for this camera is the Visoflex from Leica, shooting indoors or outdoors. Even mounted in the middle, rather than the side, this blocks extraneous light and helps focus better on the image, where you are focusing and what shadows or highlights to look out for. The viewfinder is also good for shooting in more rapid succession or shooting quickly in different directions. I’m sure this conclusion is tainted from using the M series for so long and I wish the EVF had been built into the camera, but I wouldn’t seriously use the X Type 113 without the Visoflex. You can get one from Leica Miami here. Note that many web sites are not updated for the Visoflex for use with the X Type 113, but rather show the Leica T. This will get changed in time, but know that the older EVF will not work with the Leica X Type 113.
I’m still getting the hang of the metering modes and this exposure was slightly overexposed in the highlights, but focus was quickly obtained and the bokeh is nice for a 23mm lens. Remember, that even with an f/1.7, this is a 23mm lens. It may be cropped by the sensor to emulate a 35mm lens, but the depth of field is based on a 23mm lens. I like my Leica Elmarit-M 23mm f/2.8 ASPH lens and the bokeh is great for close range. However, do not try to compare this to the Leica Summilux-M 35mm f/1.4 ASPH – they are different focal lengths.
Color is something important to mention here. The M(240) has some saturated reds in it’s natural RAW images. I use a camera pre-set in Lightroom to reduce some of the red and orange saturation. I have had to do the same here with the X Type 113. It may be that Adobe will release some profiles soon that adjust this, and I am using a calibrated monitor, so this is real. Look at the orange and purpose sweater my wife is wearing above. The image you see is after adjusting the saturation down for both orange and red. I use the following settings:
Red saturation -20, orange saturation -10
I’ve set those as part of my camera profile so that it is automatically used each time I import. I’ll find or post an article on creating these in Lightroom as I get time. Without this setting, the bright colors are too bright.
The focus was snappy and I only had one area where it was a problem, otherwise I didn’t notice I had an autofocus camera. There was no hunting and even close focus was fast. I’m sure it’s nowhere near as fast as a professional Nikon or Cannon camera, but this body will not be used for sports photography, and any fast action street photography should use a higher f/stop in true Leica fashion. The one area I missed the autofocus was taking images through iron fences, similar to this. If I wanted the fence in focus, it was hit or miss. Here the fence is in high contrast to the background, which helped I am sure.
The manual focus is great on the X series camera. I’m not sure yet whether I am a fan of the zoom focus or not because it is rather grainy and very difficult to see because the in-focus area is not sharp at all. I would much rather have focus peaking on this camera and I believe then manual focus would be simple and fast. The lens has a short focus turn, so quickly focusing is easy. I’m still working out the kinks, but I think I’ll use the manual focus without the zoom and just eyeball the most important part of the image. I think the depth of field is such that manually focusing this way will work almost all the time.
Perspective is always harder with a wide angle lens. The distortion is not bad at all using this 23mm lens. Again, the Visoflex will really assist in turning the camera to odd angles combatting perspective issues, but as you see above, tilting the camera up does not produce an unflattering shot. Also, even though this image was modified in Lightroom, the edge contrast is good considering this was a shadow side of the building and the sky was extremely bright behind it. Note that even without camera profiles in Lightroom, I did not have to correct any chromatic aberrations in these images. This speaks very highly of the lens. I enjoy the Fuji X System as well, but there is much more correction of chromatic aberrations in those lenses and even in my Voigtlander M lenses.
Speaking of sun and contrast, this is Folly Beach right around Noon, as you can tell by the shorter shadows. The shadow detail isn’t perfect, but this is a very wide range of luminescence and the X Type 113 sensor did rather well in keeping highlight information from the reflective water and the old wooden posts. The color and tonal ranges here are also great and you can see these sliding the exposure and contrast sliders back and forth in Lightroom. Another really hard shot is shown below.
You see the sunlight shining off the peak of the waves and you see that this was taken looking down at the rocks and water with the sun almost overhead (for purposes of the fall sunlight). The shadow in the rock on the right started turning red if I opened it much more, meaning I lost the other color channel detail. But the highlights in the ocean water show plenty of detail and the light green in the rising wave has tone value.
Conclusion
Overall, the sensor and lens combination is well connected. Again, this is what one expects from Leica offerings. There are learning challenges because the f/stop adjusts for high shutter speeds and close focus. The information from Leica indicates this is really to protect the photographer and provide the highest quality images. I tend to keep my photography in the lower contrast lighting outdoors and this sensor will reward those that understand light and exposure.
The biggest learning curve I have right now is using the meter to determine the proper exposure. The user profiles are a great place to store JPEG settings like a black and white setting and color setting. Somehow during our walk, I set the camera on auto ISO and as a result have some ISO 640 and ISO 800 images in broad sunlight. Of course, this meant smaller f/stops which was not what I wanted to test. But again, that is learning curve.
Next, I’ll look more at the metering modes and how to use a quasi-manual mode with aperture priority and Auto ISO.


