How often in today’s world do we get lazy and let something else make our decisions for us? The Auto Gremlin is culprit. The car will keep the temperature at an automatic level we set. The RSS feeds keep us from having to visit each web site and look to see what’s new. Well, in photography, we also have auto gremlins. This is the first post on the auto gremlins.
One of the most relied upon auto gremlins is the White Balance. Let the camera decide what is white. This is pure lazy and one of the hardest photography habits to break. Fortunately, it’s not terribly difficult to deal with, but with control comes the need for additional knowledge. There are some great articles on the web about white balance and learning which types of lights measure what degrees in Kelvin. This will be a topic for a later post, today we go with efficiency in learning and application – the manual white balance setting. First let’s look at the ‘why’ before the ‘how’. Why do we need to know this?
examples
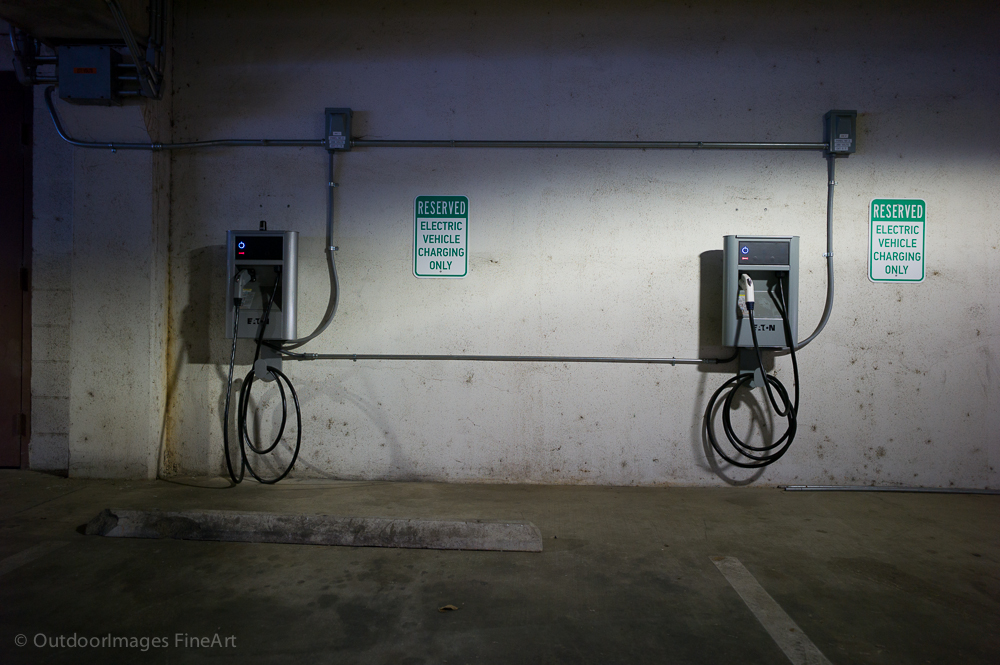
Below are two images taken one after the other. The only modification made was the setting of the white balance. Notice how greenish yellow the first image shows. This can be a desired effect to show old, dark, and mysterious. However, it can also be annoying when your eyes adjusted to the light and you were expecting something else.
Electric Car Charging – Using Auto White Balance
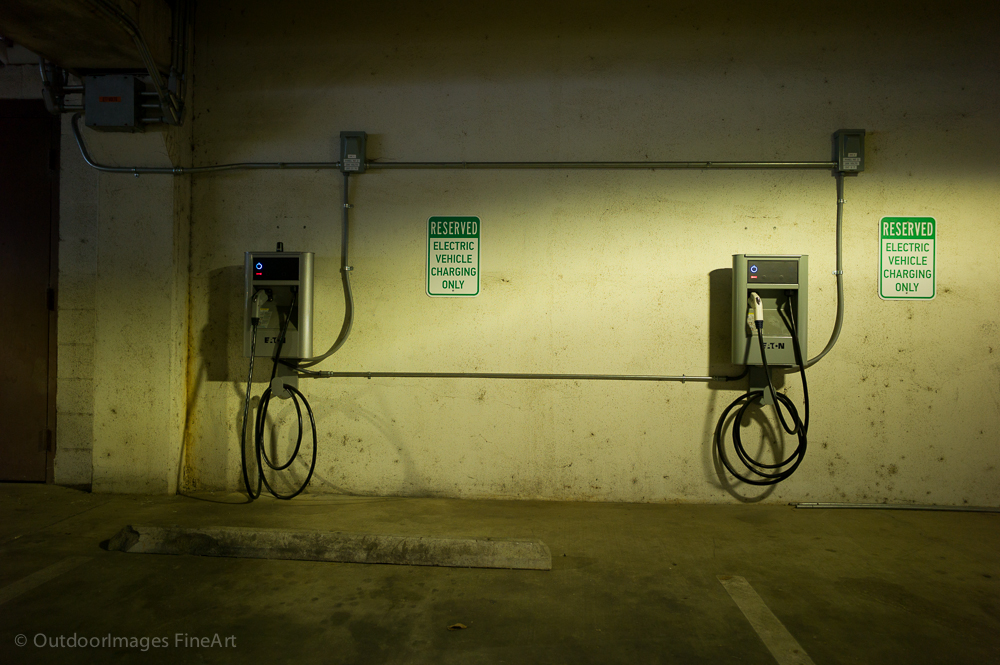
Electric Car Charging – Using Manual White Balance
why worry about white balance?
A great photographer I follow once said something like:
I’d rather take a moment and get the exposure perfect when I’m using the camera then later have to adjust each and every image to make up for my shortcomings and laziness at the time I took the image…
Ok, that wasn’t exactly what they said, but it was the gist of what they meant. Since I began shooting more with the Fuji X100s, getting the white balance right was much more critical. I love the output of the JPEG’s from that camera and my goal is to shoot it just right with essentially zero post processing. Ok, so Fuji post processes the RAW image to get the JPEG, but the point is I don’t want to make any more post processing. This is as close as I can come to using a digital camera like it contained film – one try to get it right.
Some may say why fuss with all this adjustment when you can move the white balance in post processing software like Adobe Lightroom? My answer is simple, really. How many images might you take in a day? How many in one type of light during that day? Let’s be conservative and say only 10 images in one type of light. So, how long will it take to adjust 10 images white balance? Even if you set one image and then copy that white balance setting to the other 9 images, it takes longer than pressing a button and pointing a camera at a white area. Much less time.
More importantly, using this technique will make you a better photographer because it forces you to be aware of changing light and changing surroundings. It is tough to remember at first, but becomes habit over time.
So, how do we set the white balance?
how to set a manual white balance
Using the most readily available Leica digital cameras today (the M9, the M9-P, the Monochrom and the M-E), setting white balance is very simple. One common element to these cameras is the menu system and the button placement on the back. I haven’t held the new Leica M(240) yet, so I can’t comment there. If someone has one, leave a comment below to tell us how to accomplish the same results.
Press the ‘SET’ button on the back when you are ready to take an image. The LCD display will give you a message indicating you should point the camera at a white surface and press the shutter. The camera will take a picture and save it on the SD Card. I don’t know whether I think that is good or bad, but it does give you a reference later of what you used for setting a white balance. So, go ahead, find the best white surface you can. Make sure the light hitting that surface is the same light source for your subject. Then press the shutter. Your white balance is now set and you can fire away as many images as you like in that light.
Setting a manual white balance in most other good digital cameras is similar although you may need to hunt through the menu. I’d also advocate if the manual white balance item is buried deep in the menu structure, see if you can assign a custom function to it. On the Fuji X100s (and presumably the X100), the white balance is set by pressing down on the command dial. It is labeled ‘WB’ as one would expect. The manual setting is first, just below the Auto setting.
Remember, it doesn’t do any good to use a white subject in another light. For example, in the image above, had I used a white sidewalk outside of the parking garage, then the white balance would be awful because the subject is under the parking deck, away from the outside light source and the parking deck lights are a very different temperature.
Next time we’ll talk about specific light temperatures and how to make use of the other white balance settings.